🚀 Quick Start: Hello MotrixSim#
This tutorial demonstrates a complete hands-on example—loading the Spot quadruped robot and running a physics simulation—to guide you through your first MotrixSim experience from scratch. You will learn how to create a project, write code, and run your first physics simulation program.
Create Your First MotrixSim Project#
Let’s create a complete MotrixSim project from scratch.
Step 1: Create Project Directory#
First, create a new directory for your project:
mkdir motrixsim-examples
cd motrixsim-examples
Step 2: Initialize Python Project#
Initialize a new Python project using uv:
uv init
This creates a basic project structure, including pyproject.toml and .python-version files.
Step 3: Install MotrixSim#
Install MotrixSim using uv:
uv add motrixsim
If you haven’t installed uv yet, please refer to the Installation Guide.
Step 4: Prepare Model Files#
Prepare an MJCF format model file. You can use any MJCF model, or if you don’t have one, download sample models from our repository:
Method 1: Download Repository ZIP
Visit Motphys/motrixsim-docs
Click the green
Codebutton and selectDownload ZIPExtract the downloaded file
Copy the
motrixsim-docs-main/examples/assets/boston_dynamics_spotfolder to your project’sassets/directory:
# In project root directory
mkdir -p assets
# Copy the extracted boston_dynamics_spot folder to assets/ directory
Method 2: Using git clone
# Clone documentation repository (use --depth 1 for latest version only, faster)
git clone --depth 1 https://github.com/Motphys/motrixsim-docs.git temp-docs

# Copy model files to project
mkdir -p assets
cp -r temp-docs/examples/assets/boston_dynamics_spot assets/

# Clean up temporary files
rm -rf temp-docs
After downloading, ensure your directory structure looks like this:
motrixsim-examples/
├── assets/
│   └── boston_dynamics_spot/
│       └── scene.xml
├── hello_motrixsim.py
├── pyproject.toml
└── ...
Step 5: Create Your First Simulation Program#
Create a file named hello_motrixsim.py:
# Import MotrixSim library
import motrixsim as mx

# Load model file (contains physics and rendering data)
model = mx.load_model("assets/boston_dynamics_spot/scene.xml")

# Create renderer ("warn" indicates log level)
with mx.render.RenderApp("warn") as render:
    render.launch(model)          # Load model into renderer
    data = mx.SceneData(model)    # Create physics data object
    while True:                   # Infinite loop for simulation
        model.step(data)          # Execute one physics simulation step
        render.sync(data)         # Sync data to renderer
That’s the complete code! With just a few lines, you accomplish all the essential steps for a MotrixSim simulation experiment.
Step 6: Run Your First Simulation#
Now, run your program:
On Linux or Windows platforms:
uv run hello_motrixsim.py
On MacOS (aarch64-apple-darwin) platform:
uv run mxpython hello_motrixsim.py
Note
Since this example uses 🎨 Renderer (RenderApp), on macOS ARM64 platform you need to use uv run mxpython to ensure correct loading of rendering-related dependencies and execution environment.
If your code does not use RenderApp (physics simulation only), use uv run which is consistent with Windows and Linux platforms.
Expected Results#
After running, you should see a simulation window similar to the image below, with the Spot quadruped robot naturally standing and maintaining balance under gravity:
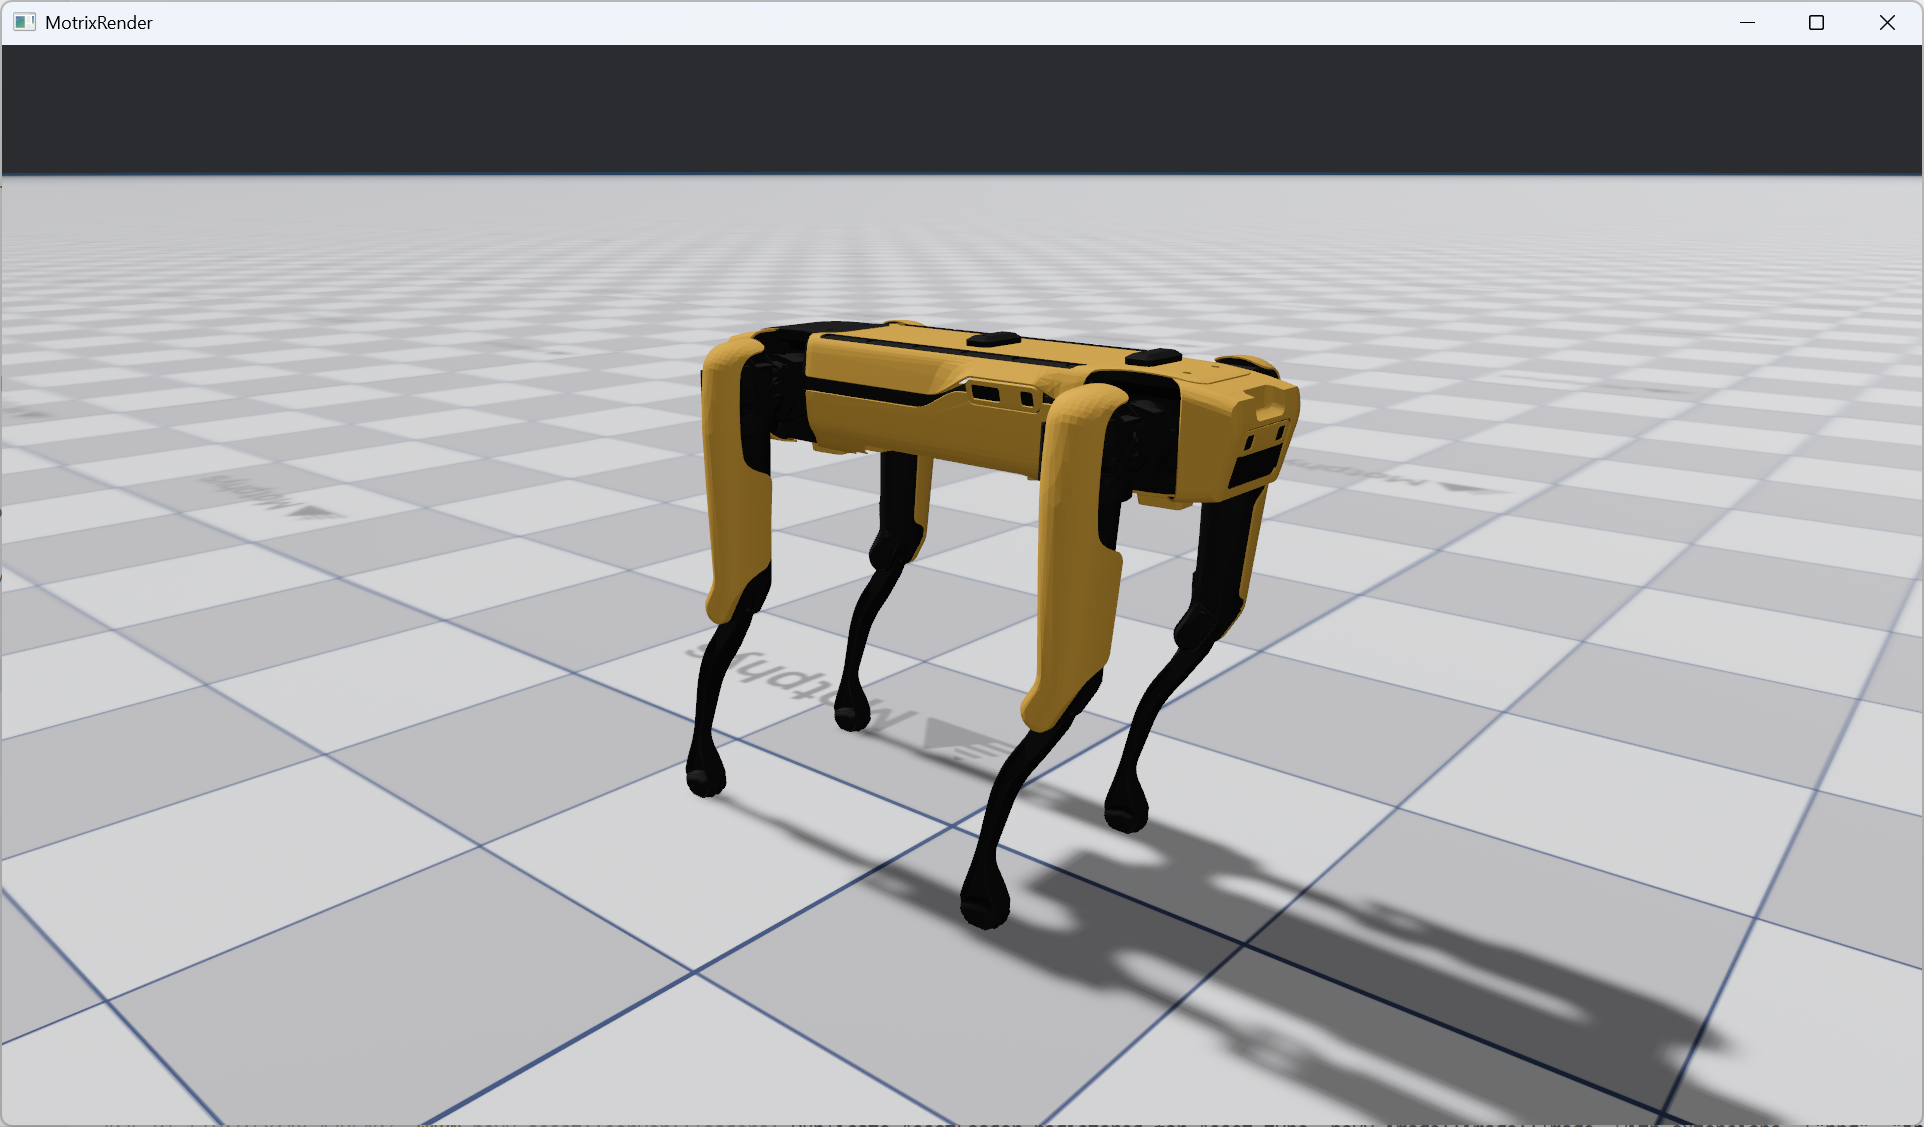
Congratulations! You have successfully run your first MotrixSim simulation program.
Next Steps#
See mjcf for supported features
Learn how to use the main features
Explore more example programs